Exact Audio Copy (aka EAC) is the perfect tool to extract music data out of an audio CD or CD-A (to rip a CD) and convert it to a flexible audio file format like MP3, or even better into FLAC. Not only is it able to read the data and transfer it, but it is able to tolerate the ageing CD media and use fully the included error correction codes (and a few tricks like reading repeatitively the audio tracks) in order to do its job even with a CD media that went through too many years of storage (Did you think that a CD was supposed to live 100 years?)
In this post, I offer to detail how to use EAC v1.6 (the most recent version while I wirte). First, to best configure it, then to use it fast with an efficient repeatititve but simple routine.
Exact Audio Copy (EAC) configuration to rip into FLAC
Before working, you need to first configure your EAC copy in order to reach a smooth operation mode. You’ll do this only once and it will stay put for all the rips afterwards. You can use the EAC “Configuration Wizard” (it’s easy to use at first), but I will go through option menus one after the other while highlighting a few critical aspects.
EAC > EAC Options…

I will prioritize quality over time in the “Error recovery quality”. After all, why use FLAC if the data is poorly recovered on old discs? High is for up to 5 batches of 16 re-reads.
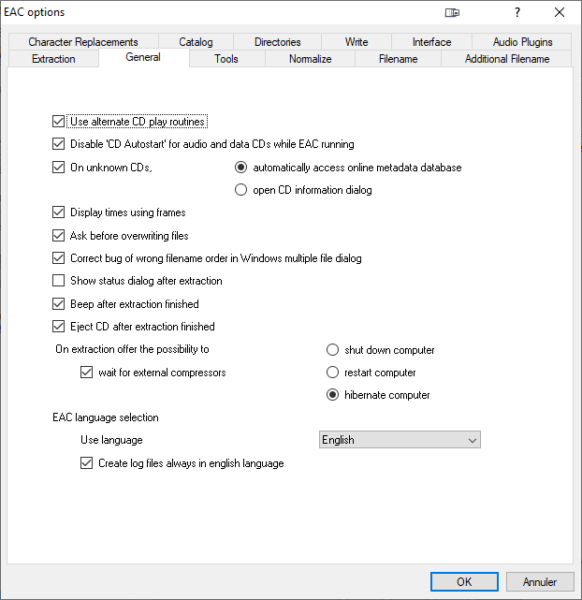
The third selection is a time saver: You always want to have the metadata from the database.
Let’s avoid showing status at the end of extraction for the sake of time and efficiency (we don’t want to close another dialog box for each CD).
At the bottom, you can change the interface language, but I will keep English here.
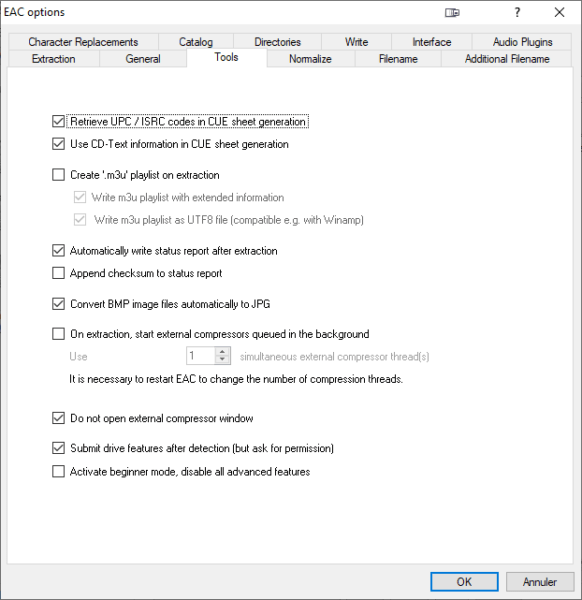
The top two options are simply useless if your CD drive does not support reading UPC/ISRC codes. But it’s nothing to worry much about.
Depending on the use of your collection of rips, you may want to extract a .m3u playlist file. I don’t.
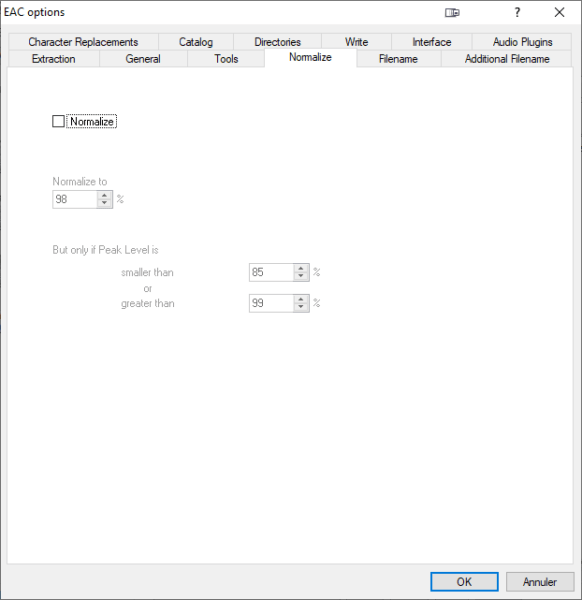
I am personnaly oppposed to normalizing sound (and it is quite dangerous to classical music) since it creates much damage to the low and high sounds that may be importnat on your music. Here we are generating quality lossless backups, not transforming the audio record.
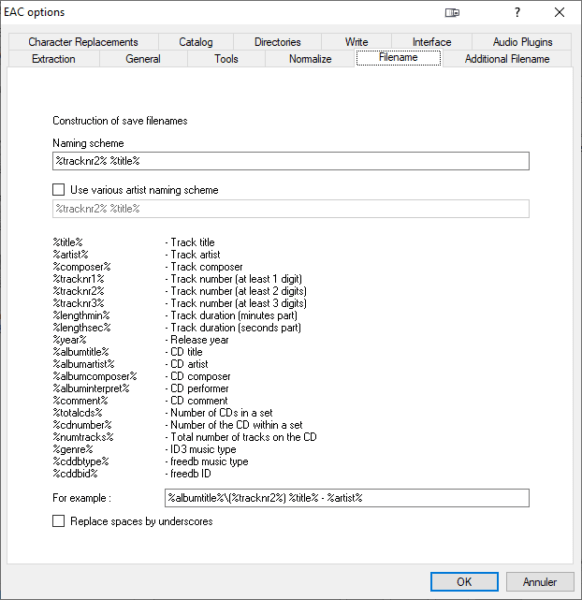
The safer choice is “%tracknr2% %title%” but it’s your choice.
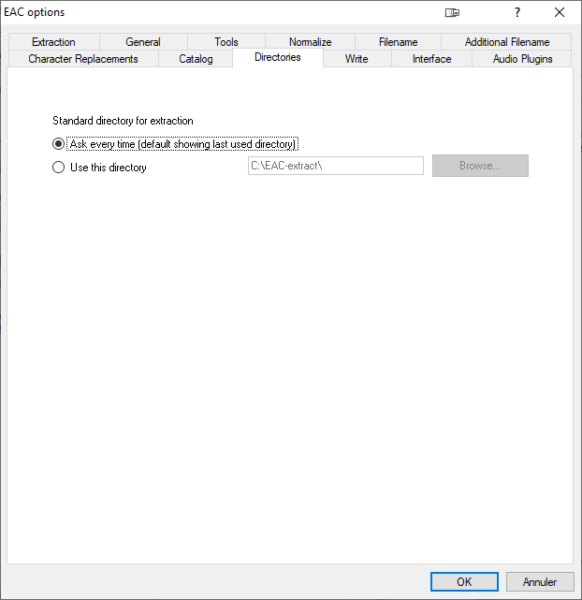
I prefer to store each rip in a separate directory…
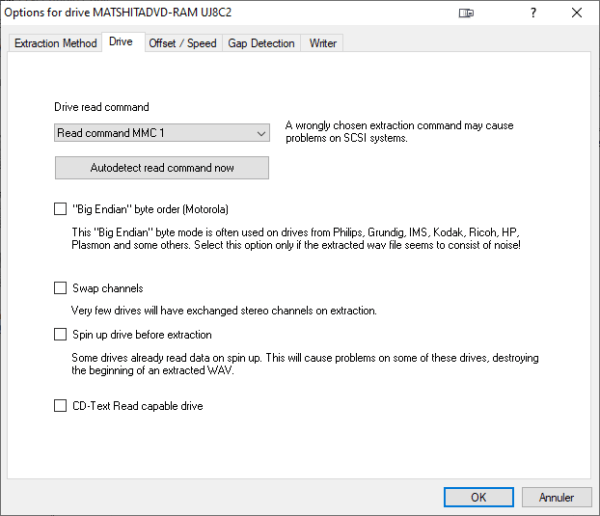
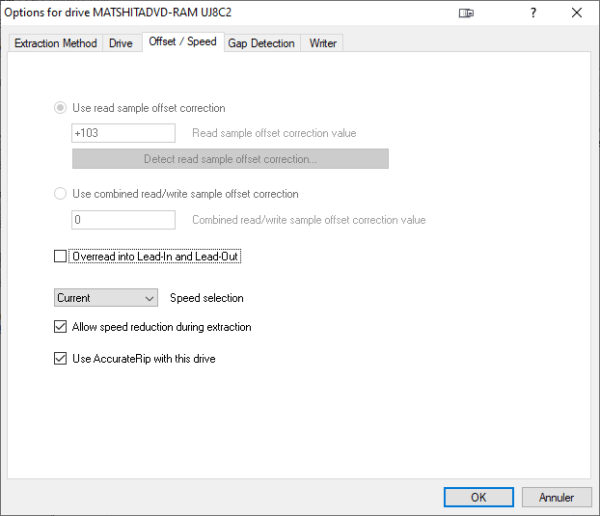
EAC > Drive options…
Here, it may require a little technical experimenting.
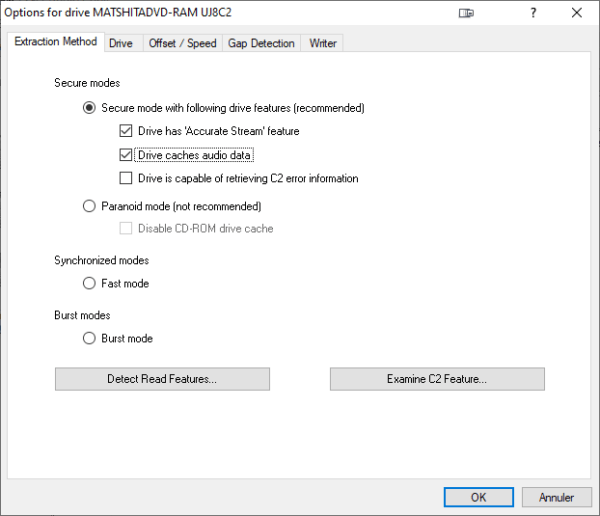
The top part should have been auto-configured by the AccurateRip configuration. No need to change anything.
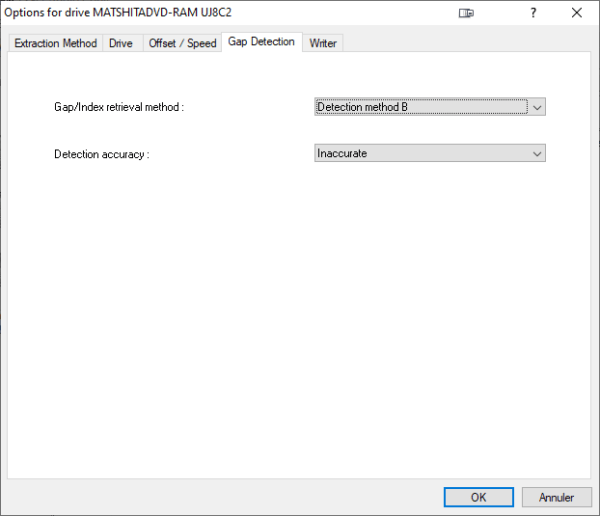
Here, CaptainRookie recommends method A, but I think method B is the most tolerant in case of some CDs with very long gaps.
EAC > Compression Options…
Here we come to the heart of things: We want to produce FLAC files from your audio CDs as fast and as efficiently as possible.
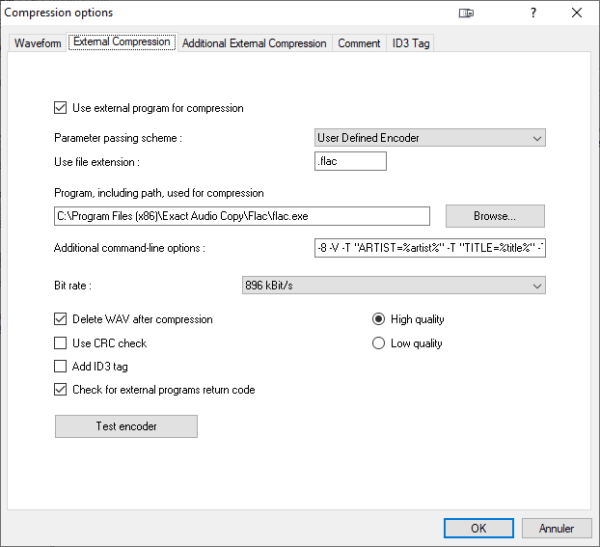
All external “FLAC compression” program options have been provided by CaptainRookie. They are safe to use and efficicent. I auto-decreased slightly the bit rate but it seems to be without any observable impact.
“Delete WAV after compression” will remove useless intermediate files.
I strongly recommend to always use the “Test encoder” button before moving to the next tab.
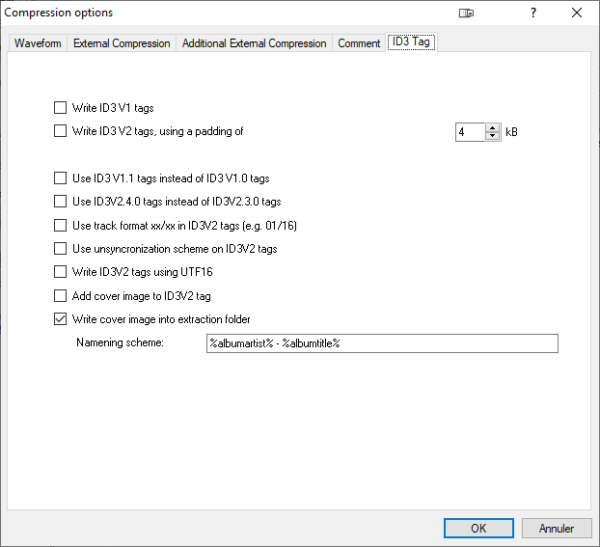
So, nothing original in the last tabs.
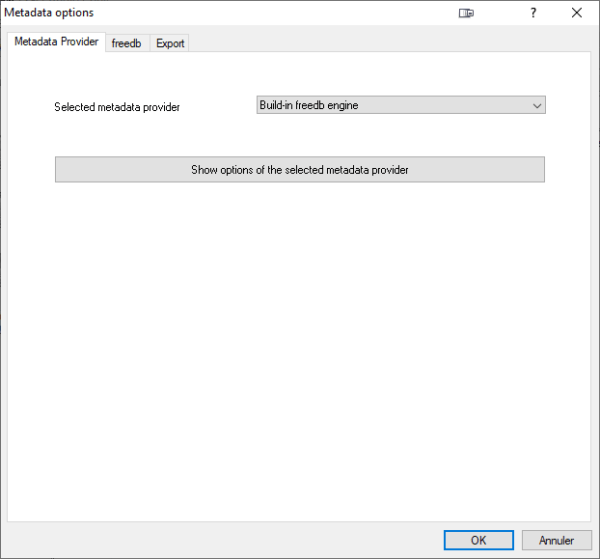
EAC > Metadata Options…
I recommend using the simplest opton for metadata: Freedb. even if you may have to open a free account on their web site.
You may have to provide your own free authentication data.
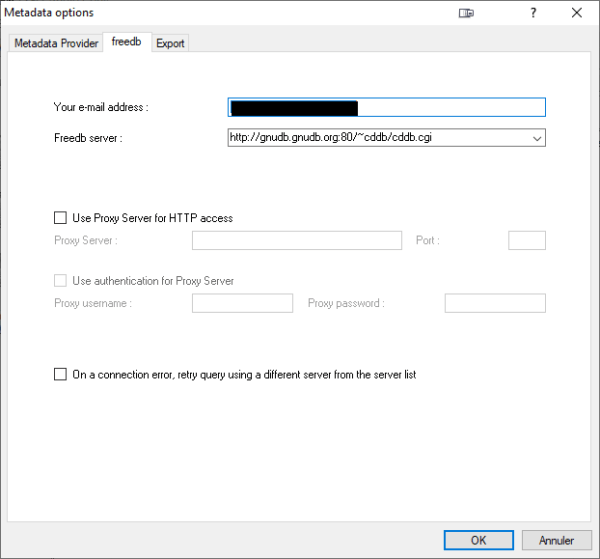
I choose not to enable the last option, but you may want it to keep working even in th event of a server error. I prefer more visibility/transparency; It’s up to you.
How to use Exact Audio Copy (EAC) to rip a CD-A into FLAC?
Now, is the time to start your own personal ripping routine. Nothing original, nothing really hard, not instantaneous, but deeply satisfying and efficient. I apprecaite that this can be done from the keyboard, which is more reproducible.
Open exact Audio Copy (EAC) from Windows, and insert a CD. EAC will start reading the CD, then connect to FreeDB in order to collect the metadata.
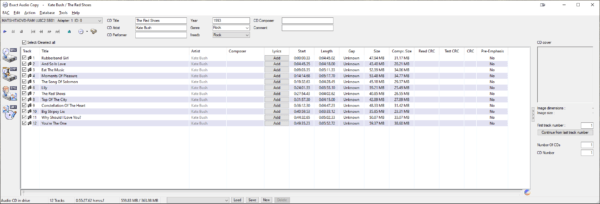
It is time for you to check the metadata (track names, album and artist names, etc.) You can immediately make needed corrections.
If this is the first time you are using EAC, I recommend reaching to the Action menu to enable “Append Gaps to Previous Track (default)”. Next time, for the other CD you will want to rip, this option will stay put and you won’t need to go back and click it.
Now, you can start with pressing F4 (for Action > Detect Gaps) and let EAC detct the useless empty spaces between tracks (the so-called gaps). A few seconds and you’re back to the previous state, but ready to rip.
Press Shift-F6 and let EAC do its job. It will ask where you want to store the FLAC files (the waveform). It’s up to you, really.
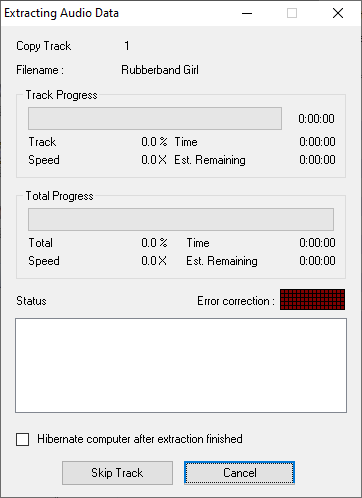
This next steps is the longest (EAC must read the whole CD from start to end). It may be quite long if it finds the CD quite degraded and must read the tracks several times to recover a perfect image of your prefered music track. Let it do its job and be patient, this is worth it.
When it’s finished, it will eject the disc, play a little sound and wait for the next CD.
Technical thanks
I must heartily thank those who helped me build this guide. All original ideas come from them, all errors come from me.
Conclusion
Now is the time for you to do it by yourself. It’s not that Exact Audio Copy is ripping your audio discs by itself, or that it takes no time. But I believe that this guide may help you (like it did for me) spend minimal time on this overly tedious task of ripping all your music into good FLAC files.
Leave a Reply